


 English
 русский
 Español
How to Use Disposable Infusion Set in Pediatric Settings?
Healthcare providers in pediatric wards and clinics frequently handle fluid and medication administration for children, where tools like the Pediatric IV Bottle and Disposable Infusion Set support these procedures. Proper setup and use of these items follow standard steps to align with clinical practices.
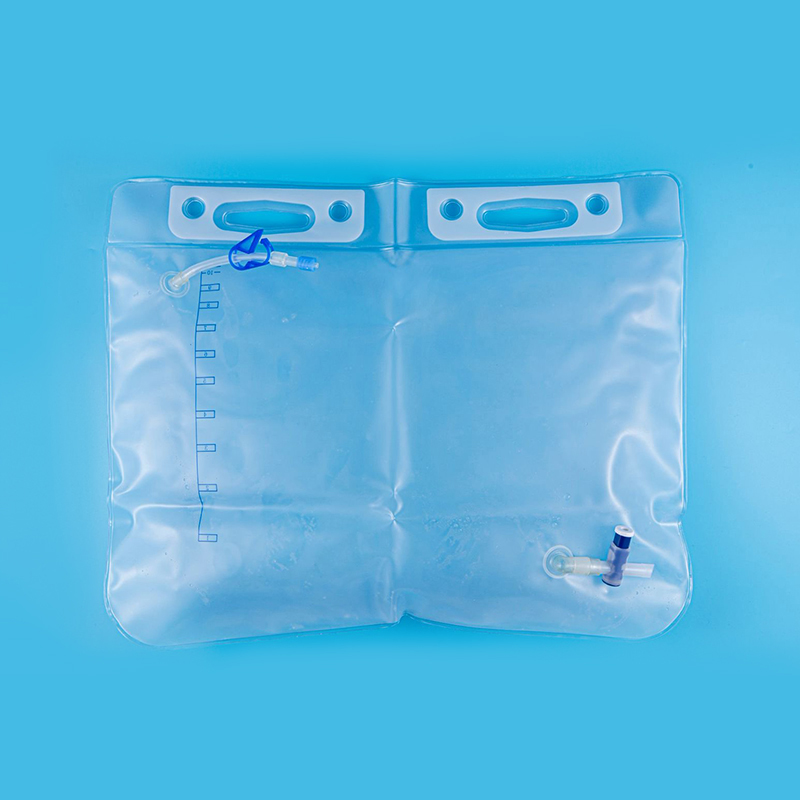
Preparing the Equipment and Workspace
Start by gathering all necessary items in a clean area. This includes the Disposable Infusion Set, the Pediatric IV Bottle or fluid container, antiseptic wipes, gloves, tape or dressing materials, and any additional components like filters if required. Check the packaging of the Disposable Infusion Set for integrity and expiration date to confirm it remains sterile. Wash hands thoroughly or use hand sanitizer before proceeding. Select an appropriate vein site based on the child's age, size, and condition—common sites include the back of the hand, forearm, or scalp in infants. Position the child comfortably, perhaps with parental assistance or distraction techniques to reduce movement. For the Pediatric IV Bottle, which holds 100-150 ml, verify the fluid type and volume match the prescription.
Assembling and Priming the Infusion Set
Open the sterile packaging of the Disposable Infusion Set carefully to maintain sterility. The set typically includes a spike, drip chamber, flow regulator (such as a roller clamp), tubing, and a connector for the catheter or needle. Insert the spike into the port of the Pediatric IV Bottle or fluid bag by puncturing the seal firmly but without excessive force. Hang the bottle on an IV stand at a height that allows gravity flow. Squeeze the drip chamber gently to fill it about halfway with fluid, ensuring air does not enter the line excessively. Open the flow regulator fully to allow fluid to flow through the tubing, priming it to remove air bubbles. Watch the fluid move down the line until it reaches the end connector, then close the regulator. This step prevents air from entering the patient's vein during administration. If using a filter, connect it according to its instructions at this stage, ensuring compatibility with the set.
Inserting the IV Catheter and Connecting the Set
With the primed line ready, prepare the insertion site by cleaning it with an antiseptic solution in a circular motion from the center outward, allowing it to dry completely. Apply a tourniquet if appropriate for the site to visualize the vein. Insert the IV catheter (often a smaller gauge like 22-24 for pediatrics) into the vein following standard technique: stabilize the skin, advance the needle at a low angle, and watch for flashback of blood to confirm placement. Advance the catheter further into the vein while withdrawing the needle, then secure it with tape or a transparent dressing. Attach the connector from the Disposable Infusion Set to the catheter hub securely, often with a twist-lock mechanism. The standard catheter length around 90 cm in many sets provides adequate reach without excess tubing that could tangle.
Adjusting the Flow Rate and Monitoring the Infusion
Once connected, adjust the flow regulator to achieve the prescribed rate.Count drops in the drip chamber over a minute to verify the rate—drip sets commonly deliver 60 drops per ml, so divide the ml/hr by 60 for drops per minute. Observe the Pediatric IV Bottle's transparent design to monitor remaining volume and drip formation. Periodically check the site for signs of infiltration, swelling, or redness, and assess the child's comfort. Adjust the regulator as needed if changes in position or activity affect flow. In routine settings, this manual control allows for gradual delivery suited to smaller vascular volumes.
Maintaining the Line During Use
Keep the infusion line visible and free from kinks or pressure points. Secure tubing to prevent pulling on the catheter site, which could dislodge it. If adding medications, use injection ports on the set if available, following aseptic technique. For longer infusions, change the set according to facility protocols, often every 72-96 hours or sooner if contamination is suspected. Monitor intake and output, vital signs, and electrolyte levels as part of overall care, particularly in young patients where fluid balance requires close attention. The single-use nature of the Disposable Infusion Set supports hygiene, as it is discarded after the procedure.
Troubleshooting Common Issues
If flow stops or slows, check for clamps that are closed, kinks in the tubing, or low fluid levels in the Pediatric IV Bottle. Reposition the bottle higher if gravity flow weakens, or gently flush the line with saline if permitted. Air bubbles in the chamber can be managed by tapping the tubing or refilling the chamber. For infiltration, stop the infusion, assess the site, and prepare for re-insertion if necessary. These steps help address interruptions without complicating the process.
These procedures integrate the Disposable Infusion Set with the Pediatric IV Bottle in everyday pediatric care, supporting consistent fluid delivery in wards and outpatient areas while following established clinical approaches.
NEXT:What Flow Regulator Offers Disposable Infusion Set for Pediatrics?
Interested in cooperation or have questions?

-
 +86-0576-85229808
-
 [email protected]
-
 Gexi Village, Dongcheng Town, Linhai City, Zhejiang Province, China
Copyright © Linhai Shuangmei Medical Supplies Co., Ltd. All rights reserved. Approval No: 20240008. The information provided on this website is intended for use only in countries and jurisdictions outside of the People's Republic of China.
 Privacy Policy
Medical Supplies Urine Bags Factory